Step 1) Follow through all steps in https://benleeyr.wordpress.com/2023/11/13/rooting-virtual-android-device-on-windows/ and ensure you have root on your Android Virtual Device
Step 2) Install python3 from https://www.python.org/downloads/
Step 3) Launch command prompt and run the command “pip”.
If you receive an error message, search for “Add or remove programs” in Windows then access it.

Step 4) Search for Python 3, then click Modify.
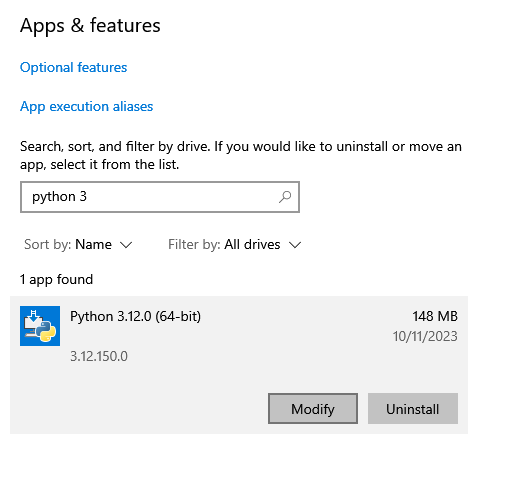
Step 5) Click Modify.

Step 6) Tick pip, then proceed with the installation.

Step 7) Launch command prompt and type the following command:
pip install frida-tools
Wait for installation to complete, then type the following command to verify that Frida is successfully installed.
frida –v

Step 8) Navigate to https://github.com/frida/frida/releases, go to the latest release then click Show all xxx assets

Then download the latest frida-server (16.1.5 at the time of this post) with the appropriate CPU type matching your Android OS (likely x86_64 if you followed my previous WordPress post)

Step 9) Unzip the .xz file, and rename the unzipped folder to something shorter, like “frida-server”
Navigate into the folder, then rename the only file inside to “frida-server”. Yes, remove the extension if any.

Step 10) Open command prompt, navigate to your frida-server folder and run the following commands
adb push frida-server /data/local/tmp/
adb shell "su -c chmod 755 /data/local/tmp/frida-server"
adb shell "su -c /data/local/tmp/frida-server &"
The command prompt will appear to hang. Leave it as it is.

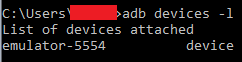
Step 11) Launch another command prompt and run the following command:
adb devices -l
The device name that appears for you will likely be different. Memorize it. It will be used repeatedly
Step 12) Run the following command:
frida-ps -D <your device name>

Frida is now working.
Troubleshooting
TS 1 – If running adb shell “su -c /data/local/tmp/frida-server &” returns a error message that port xxxxx is in use, restart the Android Virtual Device, then re-run the command again
TS 2 – If your command prompt is unable to find the adb command even with Android Studio installed, run the commands below:
set PATH=%LOCALAPPDATA%\Android\Sdk\emulator;%PATH%
set PATH=%LOCALAPPDATA%\Android\Sdk\platform-tools;%PATH%
